The WeaveVM testnet is supported in thirdweb, which provides a no-code way to deploy and mint NFTs on WeaveVM for free, without playing with contracts or the command line.
In this tutorial we’ll look at how to create a single NFT from an asset uploaded to Arweave with ArDrive and mint it to yourself, but thirdweb could easily be used as the foundation for much more ambitious applications too. Take a look at all of the things you can deploy on WeaveVM from the thirdweb library.
0. Get some testnet $WVM tokens from the faucet
Go to wvm.dev/faucet and claim some $tWVM tokens (testnet $WVM). These tokens cover your gas and storage fees on the WeaveVM network.
Next, add the WeaveVM Testnet to your wallet and verify the tokens arrived.
1. Register for a free thirdweb account
Authenticate with the same wallet you used with the faucet to create an account at thirdweb.com. This is where we’ll deploy contracts and mint tokens.
2. Use the NFT Drop pre-made contract
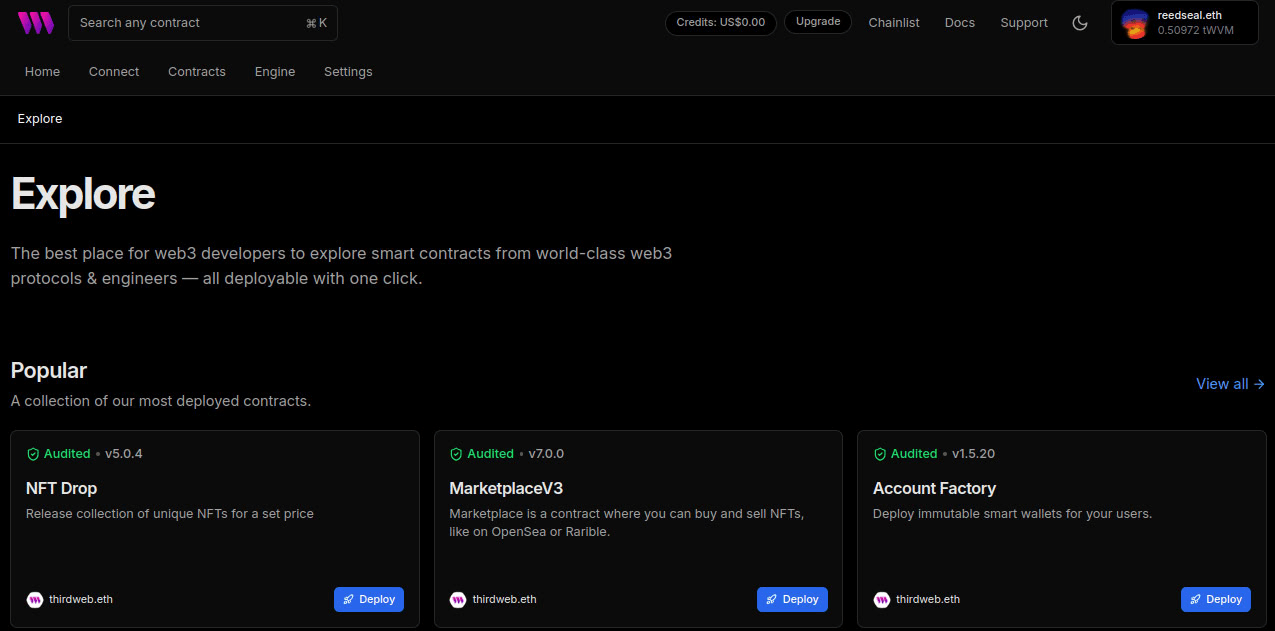
Find the NFT Drop contract in the Explore menu of the thirdweb dashboard, and deploy.
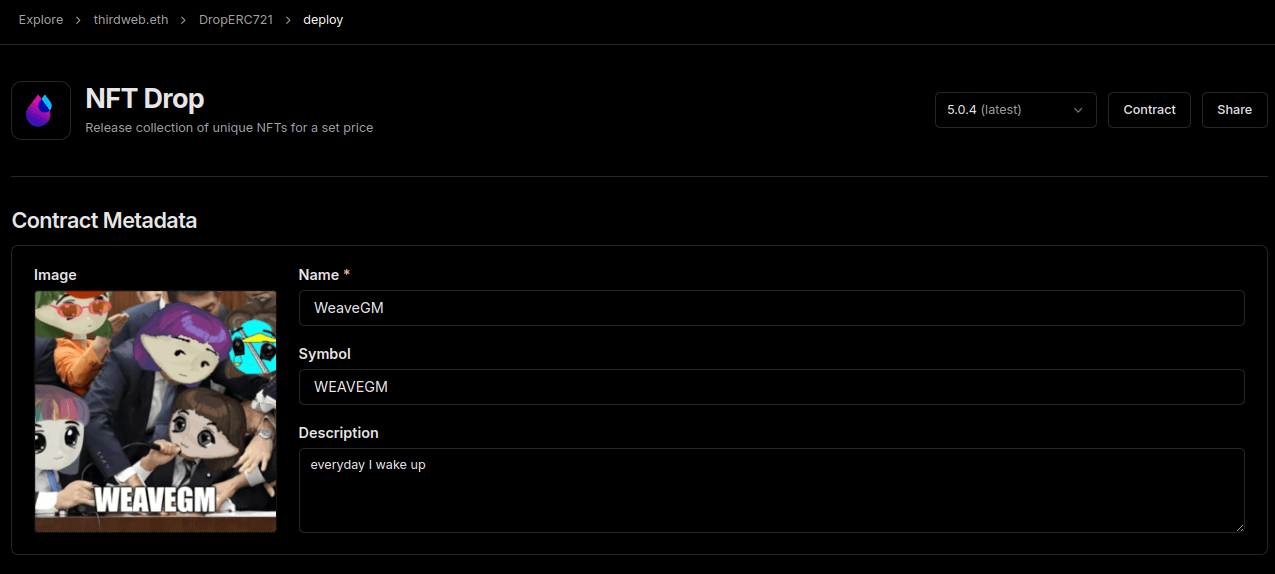
3. Input thumbnail, collection title, and other metadata
Your NFT collection needs its own metadata. Fill in the top-level metadata like thumbnail, title and description, then scroll down to the network selection menu. We’ll be deploying the OG WeaveGM meme.
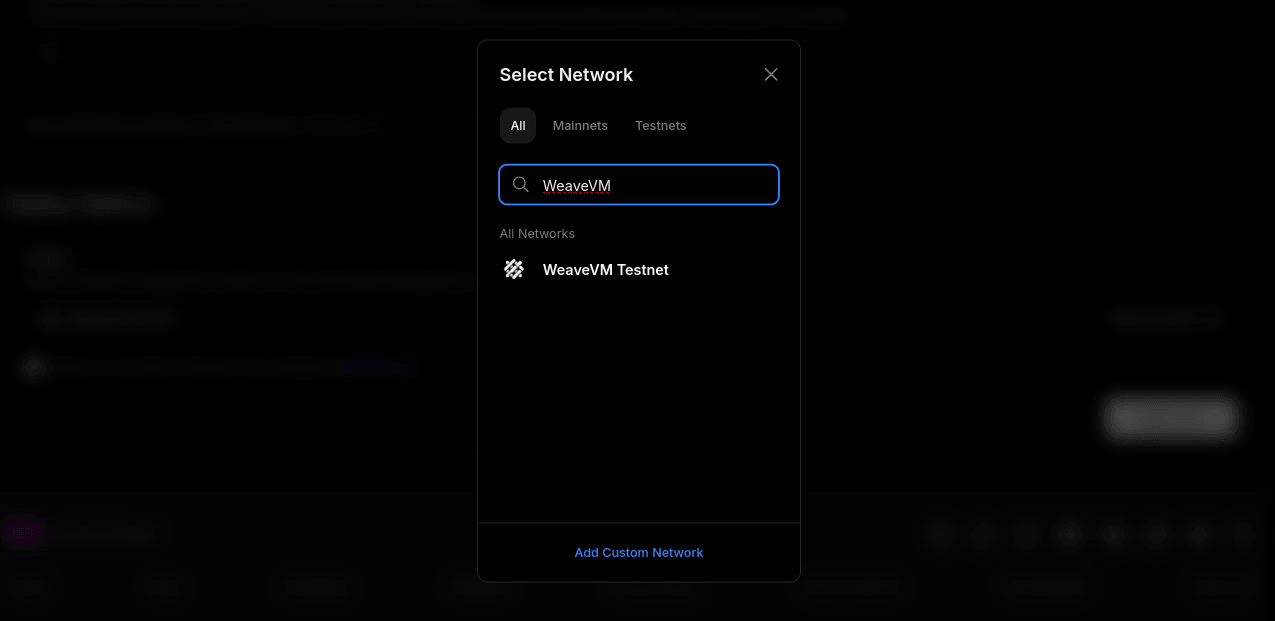
4. Select WeaveVM Testnet from the network list
Select WeaveVM Testnet from the list of available chains.
5. Select ‘single upload’ and add an item to the collection
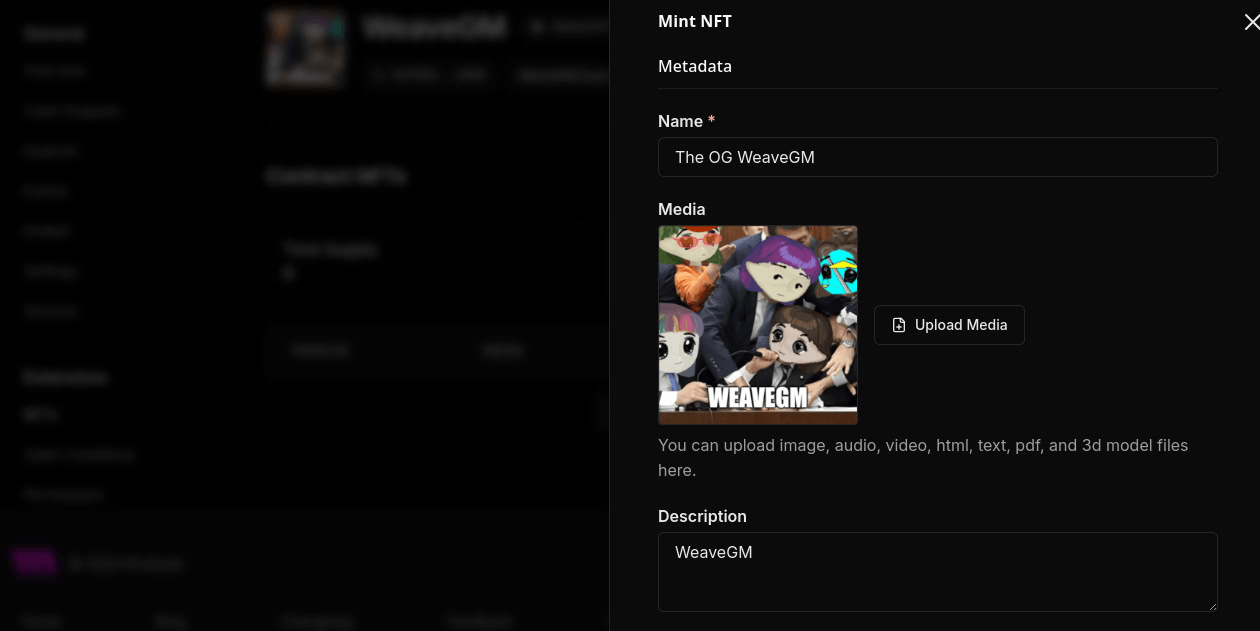
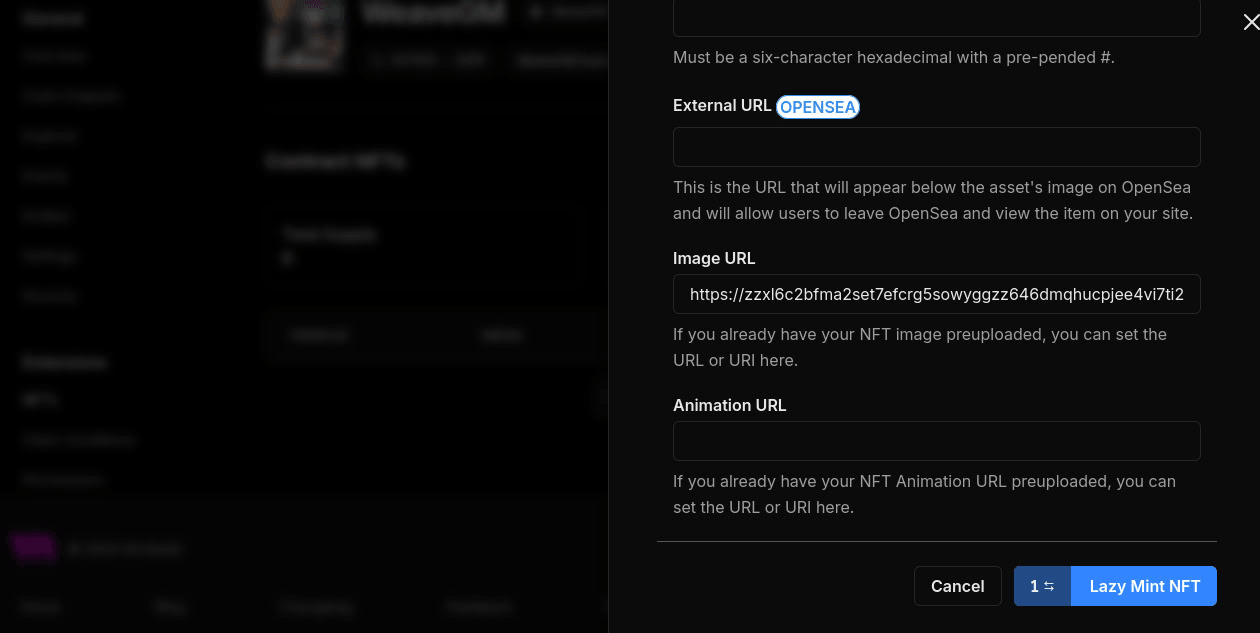
For this demo, your NFT collection will have a single item. Use the form to set the item’s metadata, but when you get to the Item URL field it’s time to upload the asset image to Arweave before continuing.
6. Upload assets to Arweave
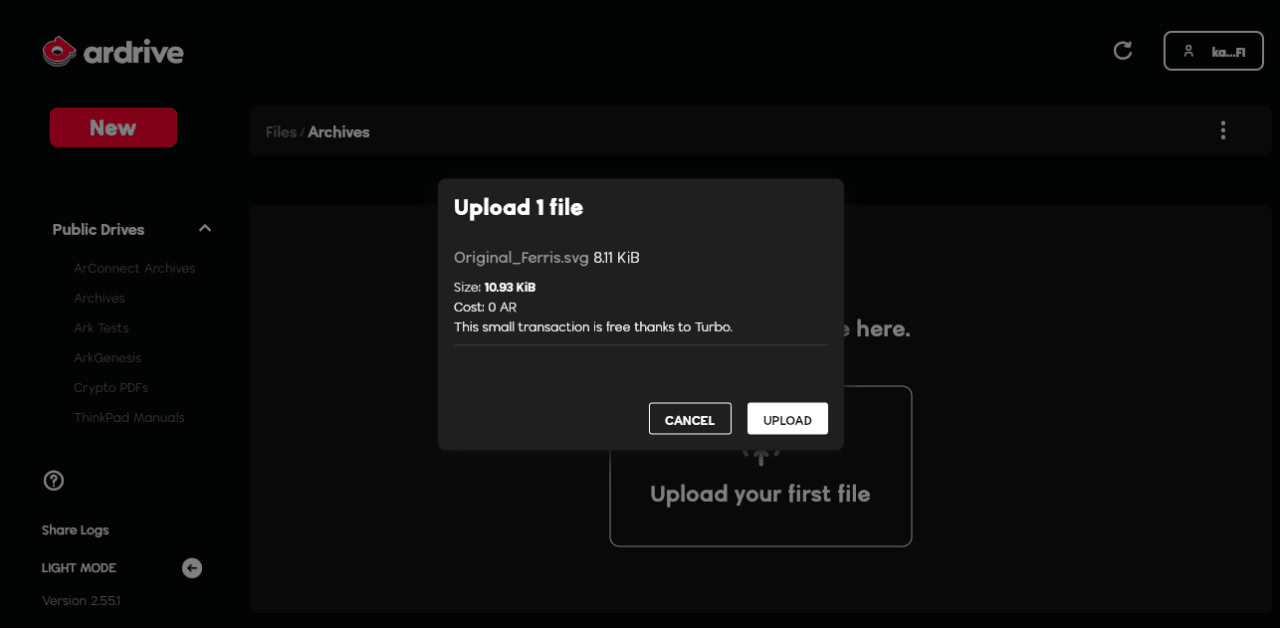
A user-friendly way tool for uploading files to Arweave is ArDrive. Files under 100kb are free! Authenticate with your Arweave wallet at app.ardrive.io and upload your asset. Once the upload is complete, you’ll be able to grab its txid from the interface and resolve it by going to arweave.net/txid, where txid is replaced with the value you grabbed from the ‘Data Tx ID’ field in the UI.
7. Complete the single upload form
Paste your asset URL into the Item URL field and and click to mint.
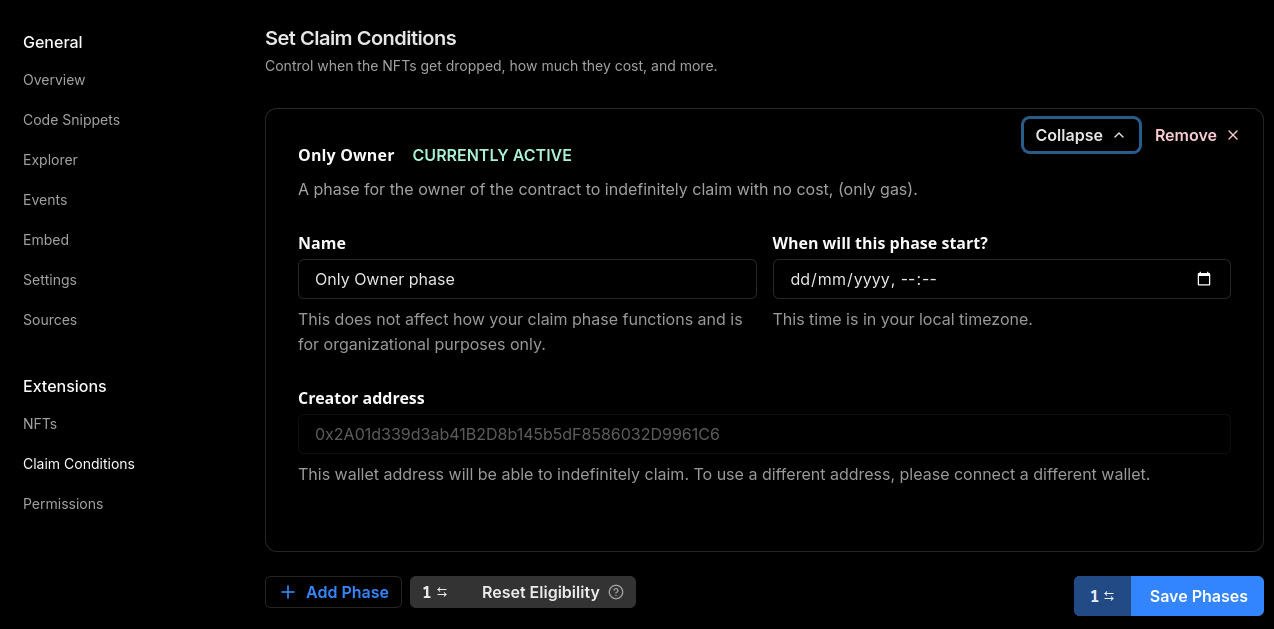
8. Set claim conditions
In order to claim the NFT you just minted, you need to set OnlyOwner claim conditions. Find the Claim Conditions item in the left sidebar, and set up a new condition that allows only your wallet address to claim the NFT.
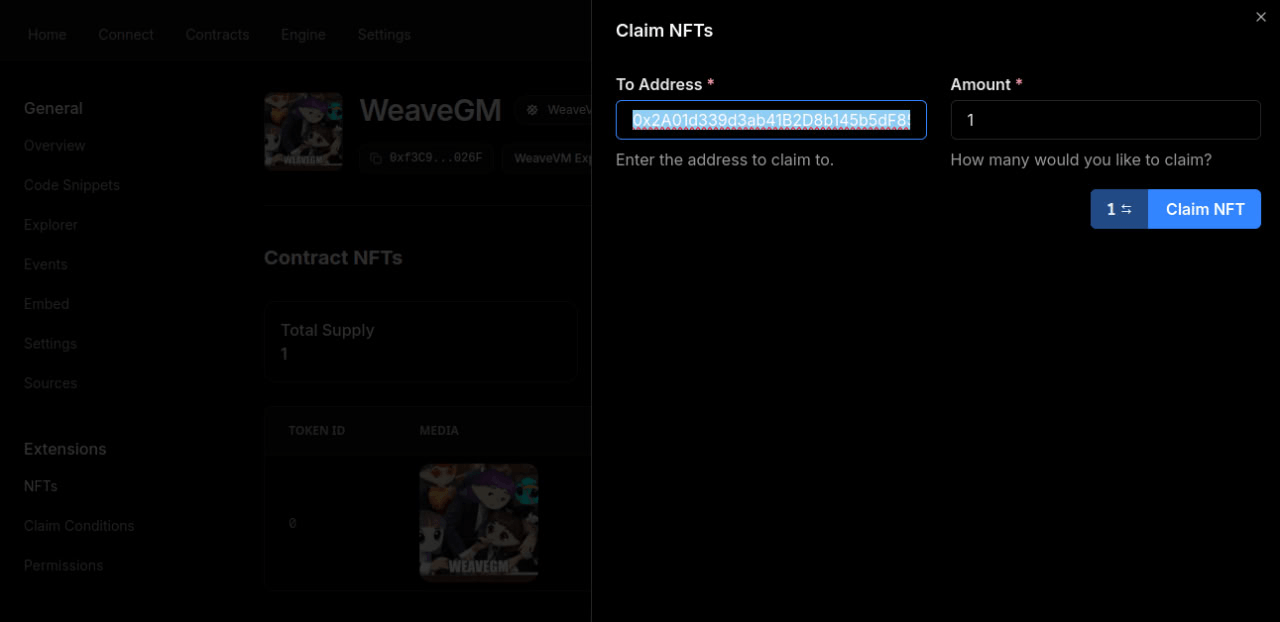
9. Claim the NFT
Head back to the NFTs section in the left sidebar, find your NFT and click the blue Claim button. Once that’s complete, you are now the proud owner of a new 1/1 NFT on the WeaveVM Testnet!
10. Verify in the WeaveVM Explorer
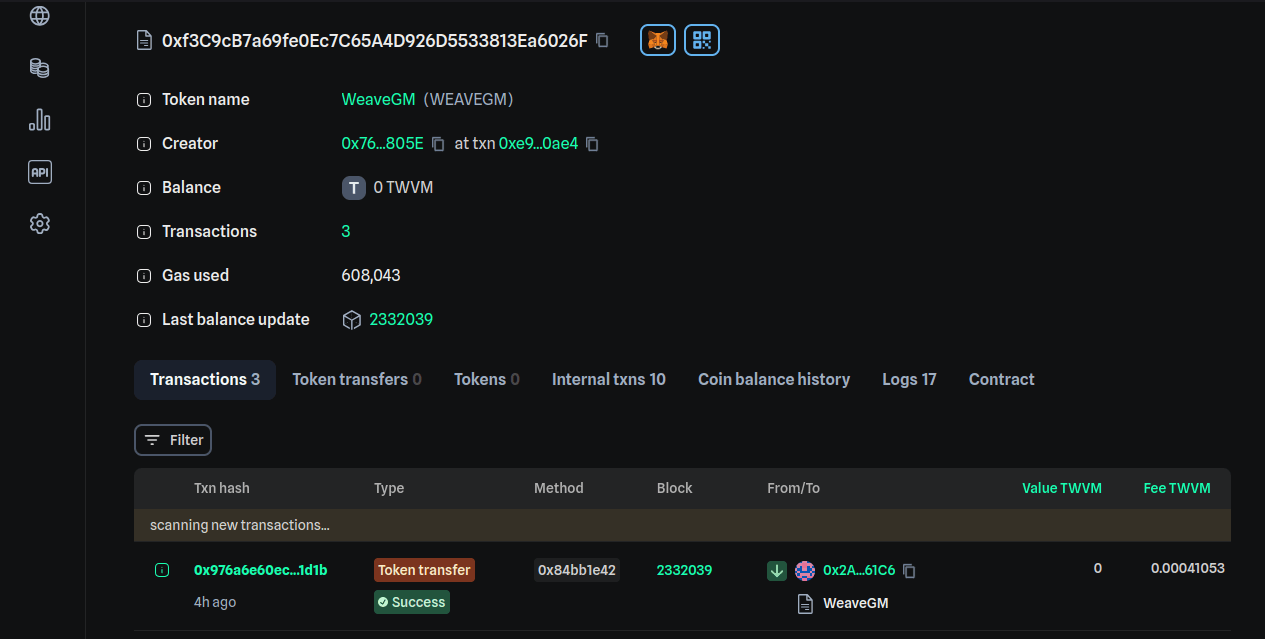
Check your address’ activity in the WeaveVM Explorer to verify everything we just did.
Next steps
thirdweb offers a huge range of deployable contracts that are compatible with WeaveVM. Mint ERC20s, build an NFT marketplace, deploy a DAO, and more. The thirdweb SDK makes it really easy to hook into those deployed contract functions and add a UI, too.
Who knows, maybe something you build will score some $WVM from the Ecosystem Grants program?

